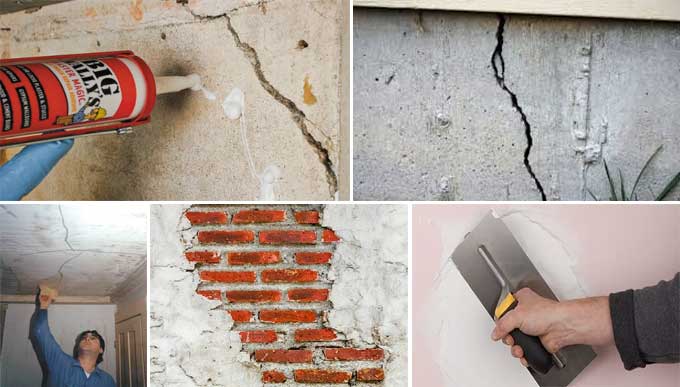
Fixing Cracks in Plaster Walls
Since most houses have plaster walls, it becomes essential to learn how to repair cracks in plaster walls on your own if you want to live in a secure home. Besides being able to maintain your house's aesthetics as well, it can also help you save a lot of money.
Identifying the material of your walls is one of the first things that you should do before you start to work on them.
It is very likely that you have plaster walls in your house if the building dates back to before the 19th century. The sound they make when knocked on can be compared to a solid object, and their surface can be smooth, wired, or stippled.
Benefits of Plaster
Since the beginning of time, plaster has been one of the most used methods for completing interior walls. Despite being 4,000 years old, the plasterwork on the Egyptian pyramids is still strong and resilient. Pressed gypsum boards, sometimes known as drywall, have become more popular with the times.
In order to make an informed decision when building or remodeling your structure, we have listed both the advantages and disadvantages of plaster:-
- Because of the chemical reaction that occurs as water evaporates from the plaster mixture and forms strong connections in the mixture, plaster is known for its durability.
Additionally, this material is more dent-resistant, and last but not least, the lath, or backer, installed below the plaster gives the plaster a tremendous amount of sturdiness. - In comparison to installing drywall, plastering walls is less untidy and takes less time.
- Your rooms will look fantastic with plaster since it lets you experiment. A few little adjustments here and there may give your area a more fashionable appearance and raise its aesthetic value.
- Adding plaster to your home will give it a whole new look if you have a drab room.
- One of the most popular materials is plaster since it is so simple and comfortable to install. With the exception of a tiny quantity, which is produced when water is first added to the powder, it doesn't produce any form of dust.
On the other hand, it doesn't require any sanding, and plastering may be finished in a comparatively quick period of time. - Traditional lime plaster is known for its fire-resistant qualities because of the carbonated lime in it, which spreads fire slower than drywall and results in less oxygen being available for the fire to operate with.
Drawbacks of plaster
- In comparison to drywall, plastering requires skill and practice, which is why amateurs may find it challenging.
- Plaster walls that explode or collapse as a result of shifting foundations or a hard impact on the wall can be challenging to repair.
Additionally, after repairs, the entire wall must be painted since old plaster changes color. If you omit painting the entire wall, the new patches will obscenely stand out more brightly. - Plastering is somewhat more expensive since professionals who have been educated in the application of plaster charge extra for their time due to their particular knowledge.
Steps to patch plaster on your own
Step 1:
Widening and cleaning the existing fracture is the first stage in the process of fixing wall cracks. To protect the floor, spread out the drop cloth. If you have a crack, gouge out a V-shaped groove in it using the can opener's pointed triangular edge.
With the brush, thoroughly remove the loose particles. If you have a hole, use the triangular tip of the opener to scrape the edges, and then brush out any loose particles.
Step 2:
Apply water with a small spray bottle to the plaster around the damaged portion to make the patching material adhere better.
Step 3:
Then with the aid of the taping knife, fill the fissure or tiny hole with a joint compound. Spread it evenly to make sure that it completely fills the depression. To make the patch blend in with the surrounding surface, feather the edges.
Step 4:
The repaired area should be softly sanded until the surface is flat with the rest of the wall after the joint compound has dried. In the event that you want to use the sponge, dunk it in a pail of water, wring out the excess, and rub the affected area until it is smooth.
To get more details, watch the following video tutorial.
Video Source: This Old House
Step 5:
The area can be cleaned with a rag or dried after drying and is then primed and painted.


